Microplanning
Create a microplan
Define a microplan and progress through form, indicator, deployment, team and approval settings.
- Signed in with microplanning access
- A microplan name, description and operating dates
- The required form, indicators, deployment areas and teams
Follow these steps
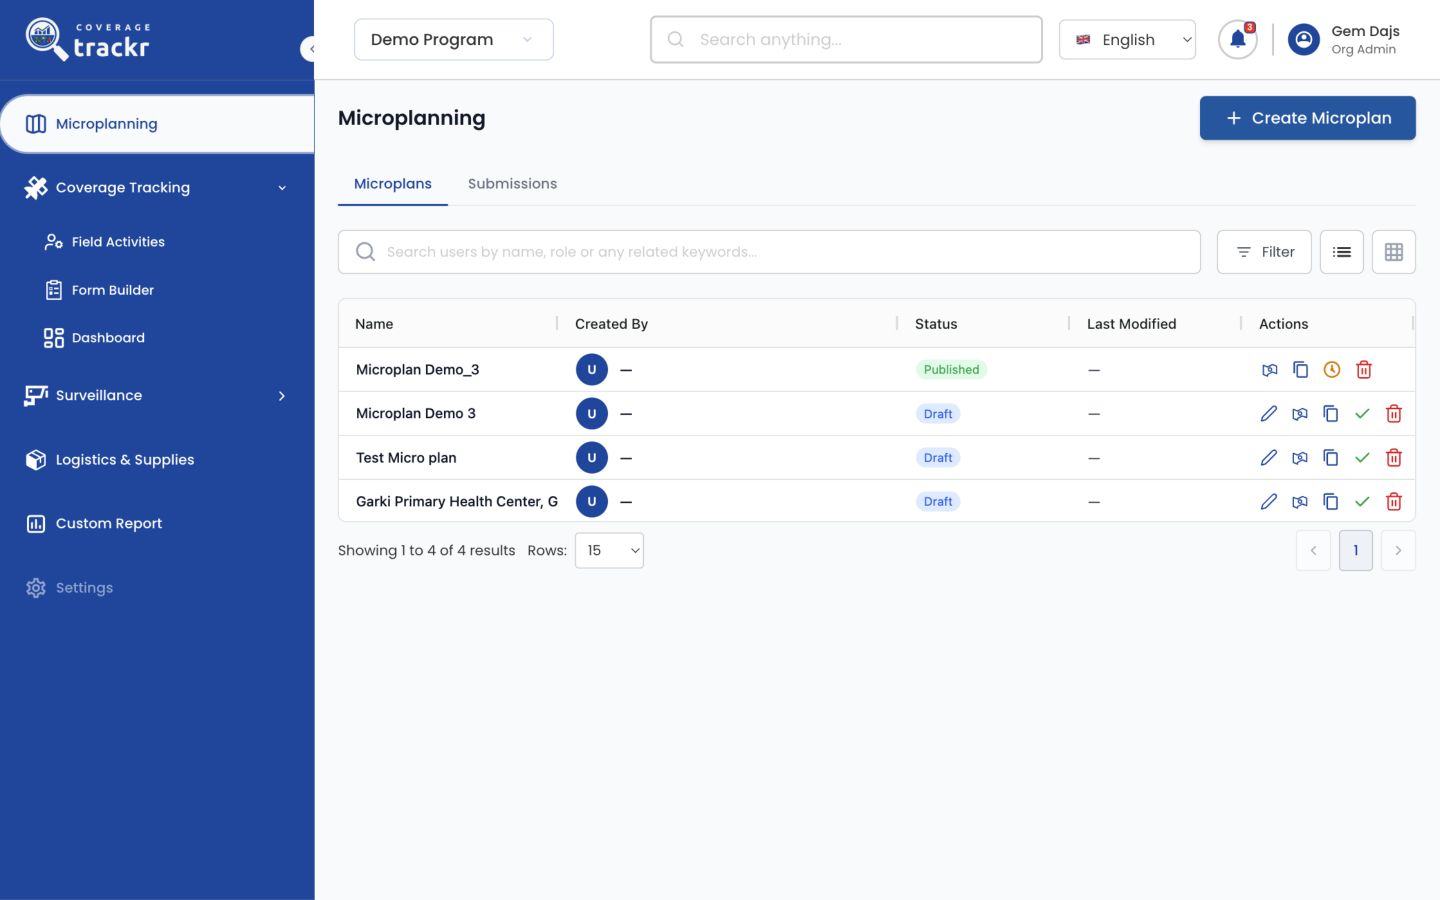
Open Microplanning
Select Microplanning in the left navigation. Search the existing microplans first, then select Create Microplan when a new plan is required.
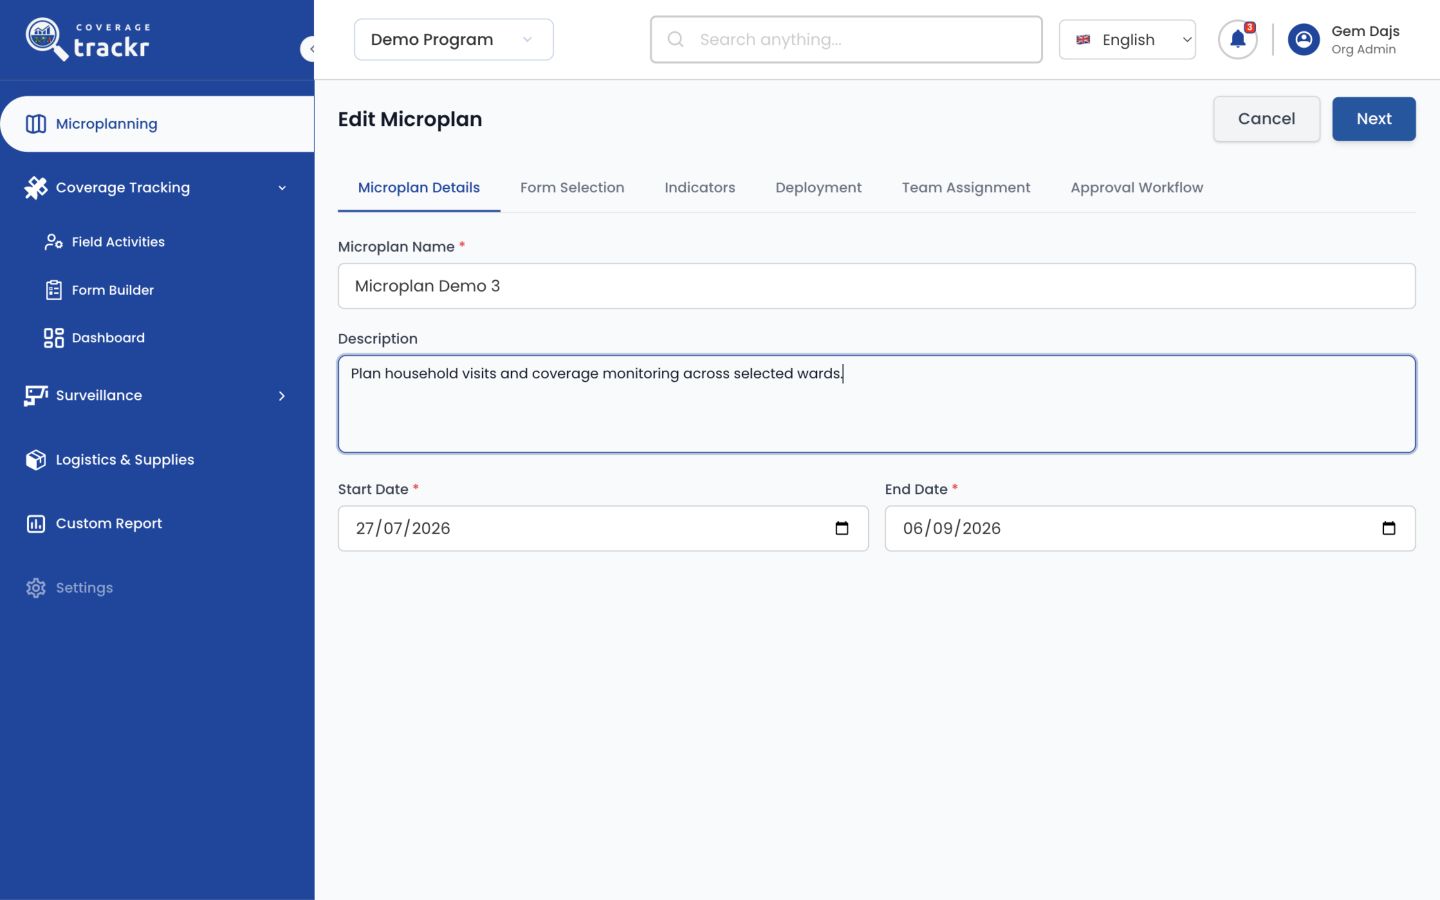
Enter the microplan details
Enter a distinctive Microplan Name, an explanatory description, and the start and end dates. The dates should cover the period in which teams will use the plan.
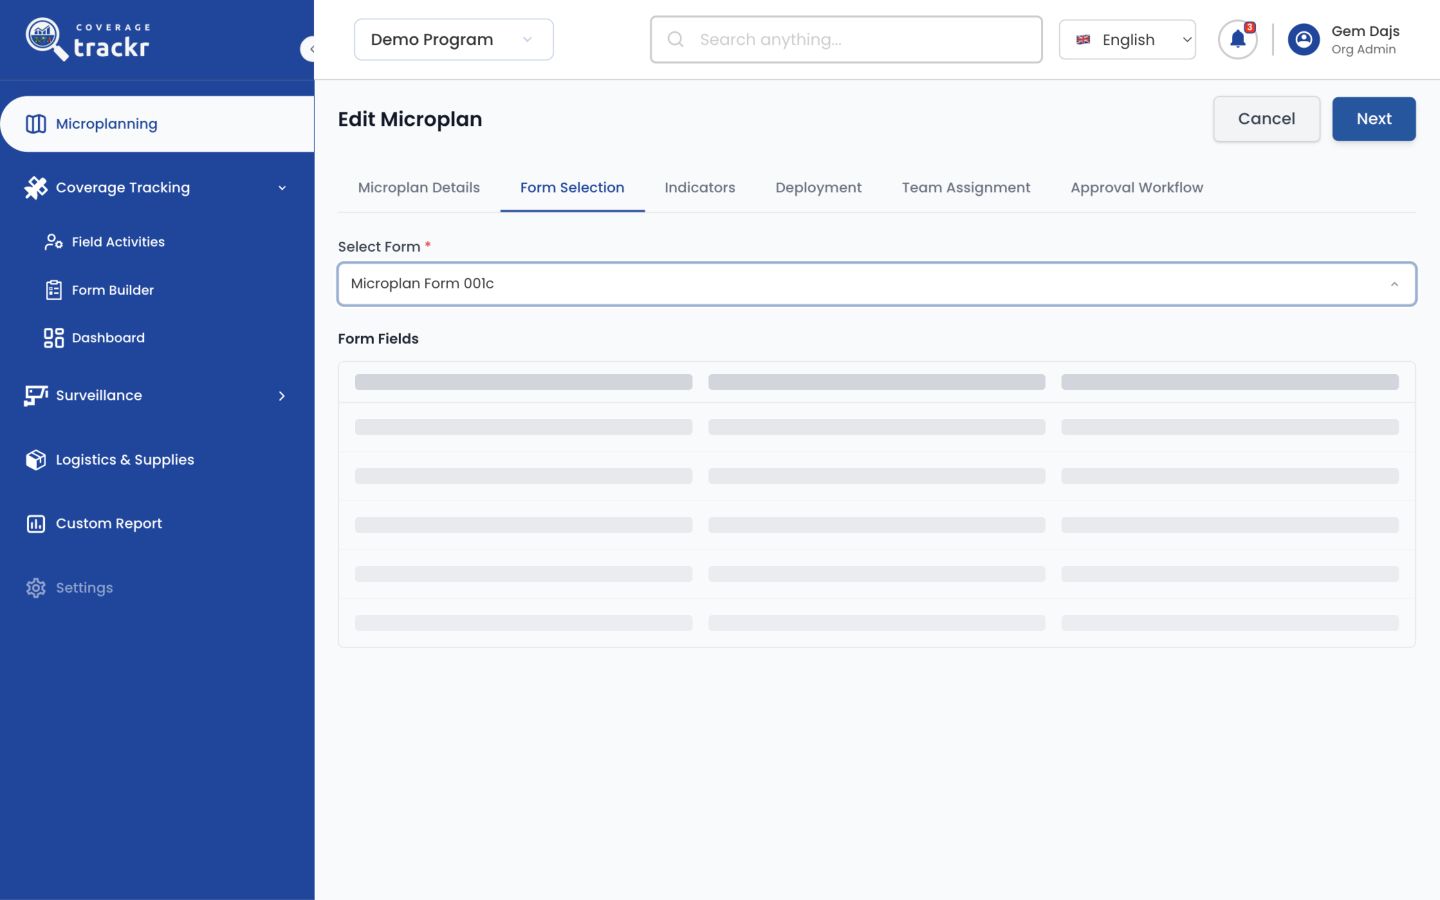
Select the form
Continue to Form Selection and choose the data-collection form the microplan will use.
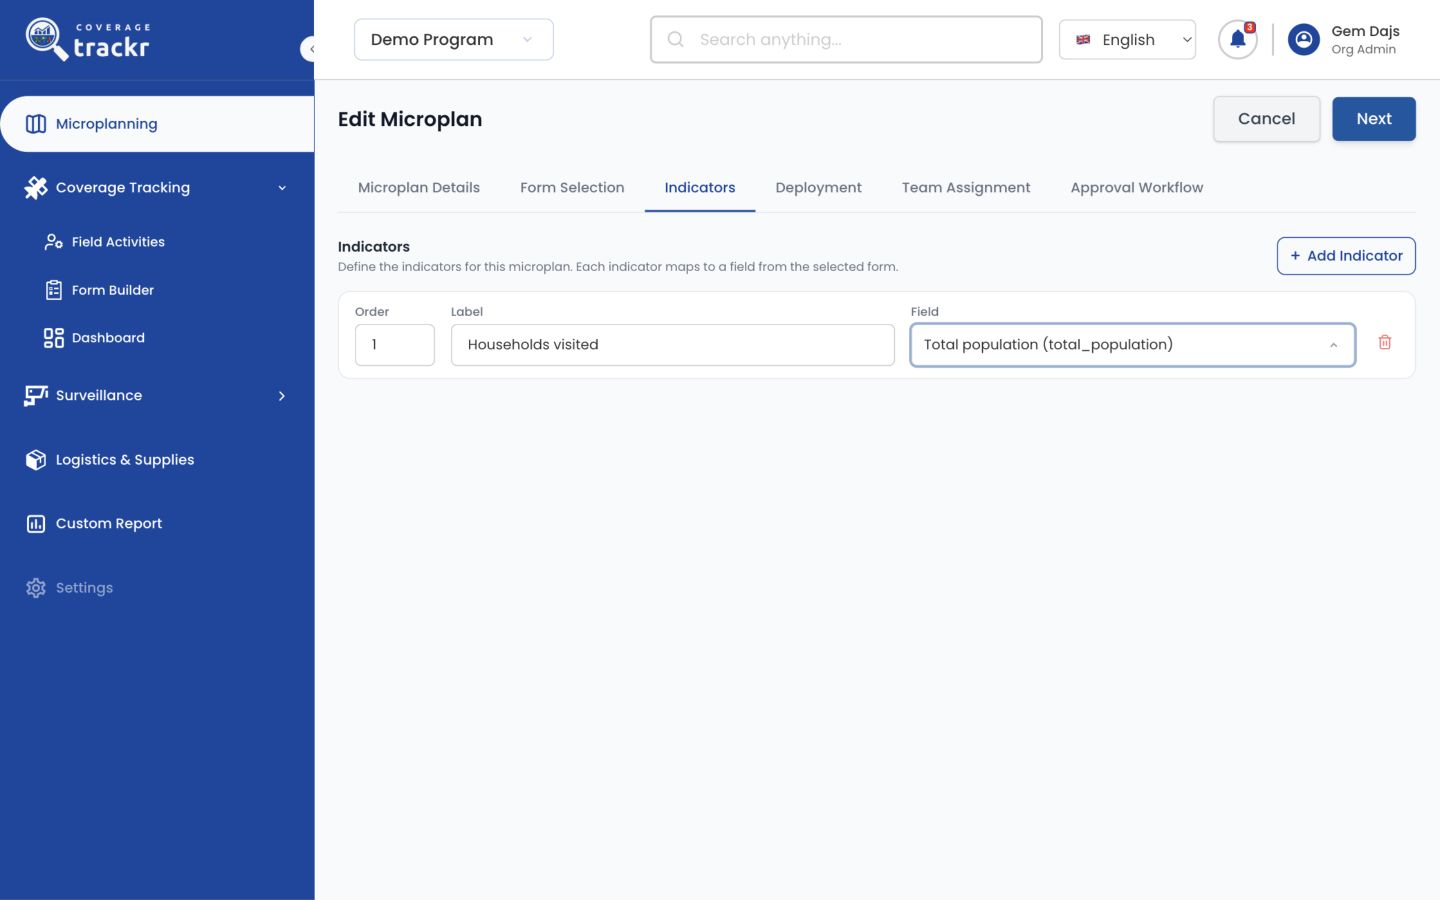
Add indicators
In Indicators, name each measure and map it to the matching field in the selected form.
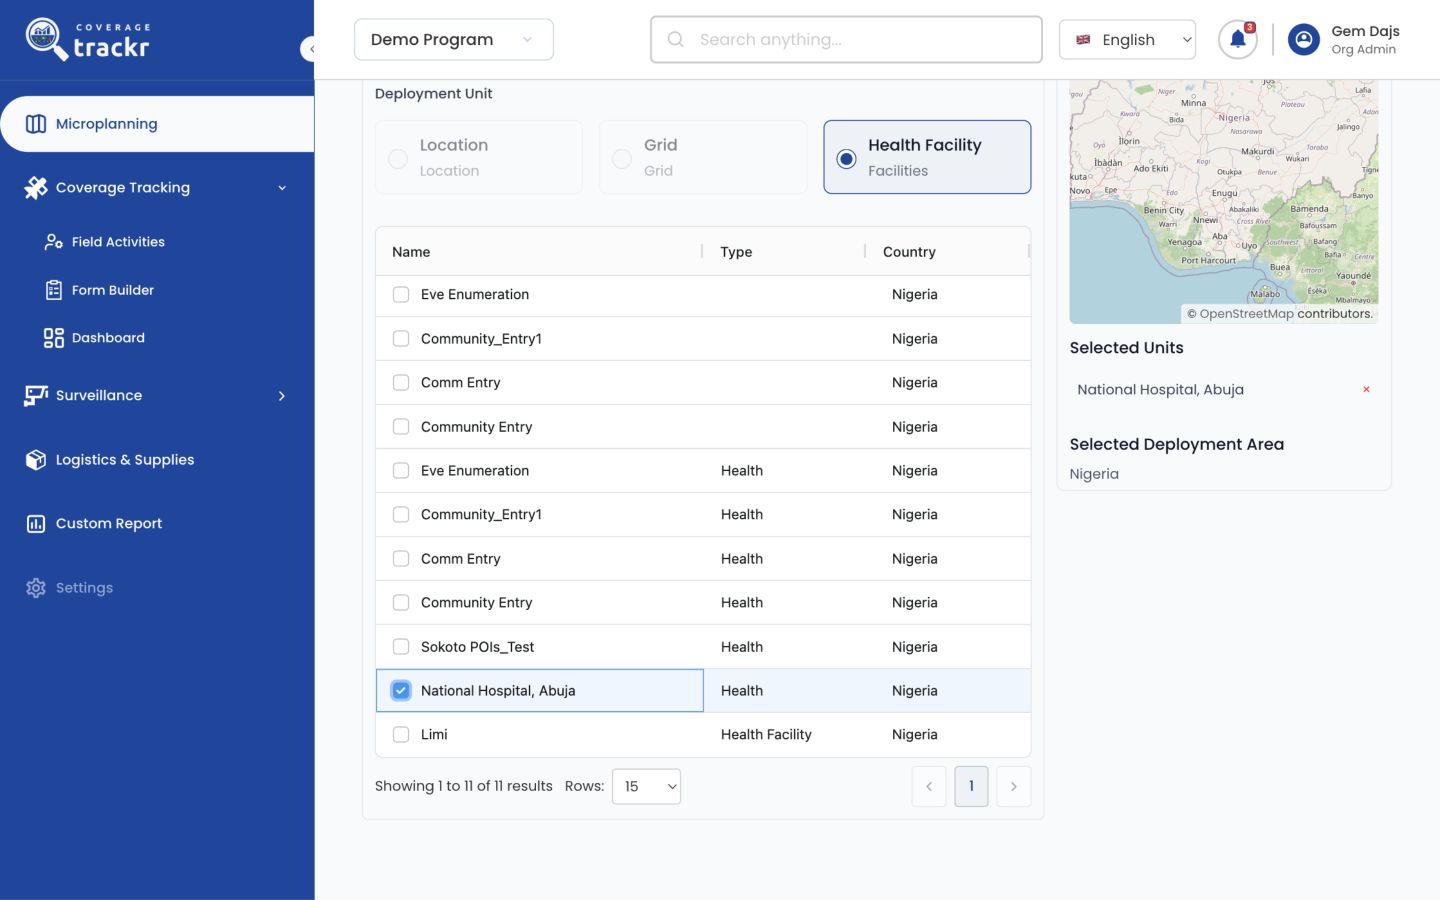
Configure deployment
Select the administrative areas and deployment units included in the plan. Confirm that the scope matches the intended campaign geography.
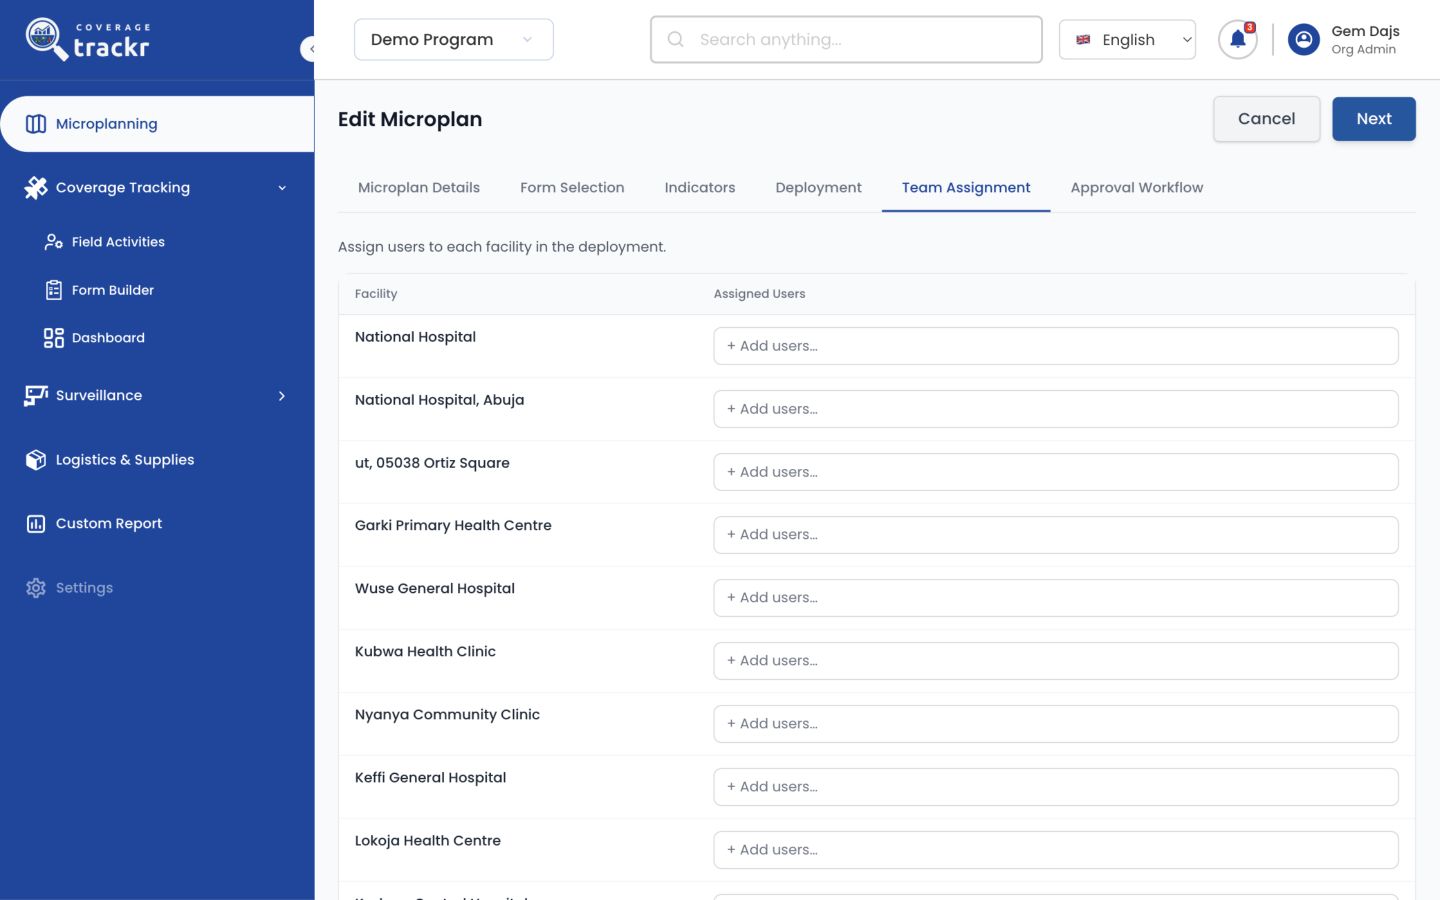
Assign teams
Assign the responsible teams or users to the selected units. Resolve any unassigned areas before proceeding.
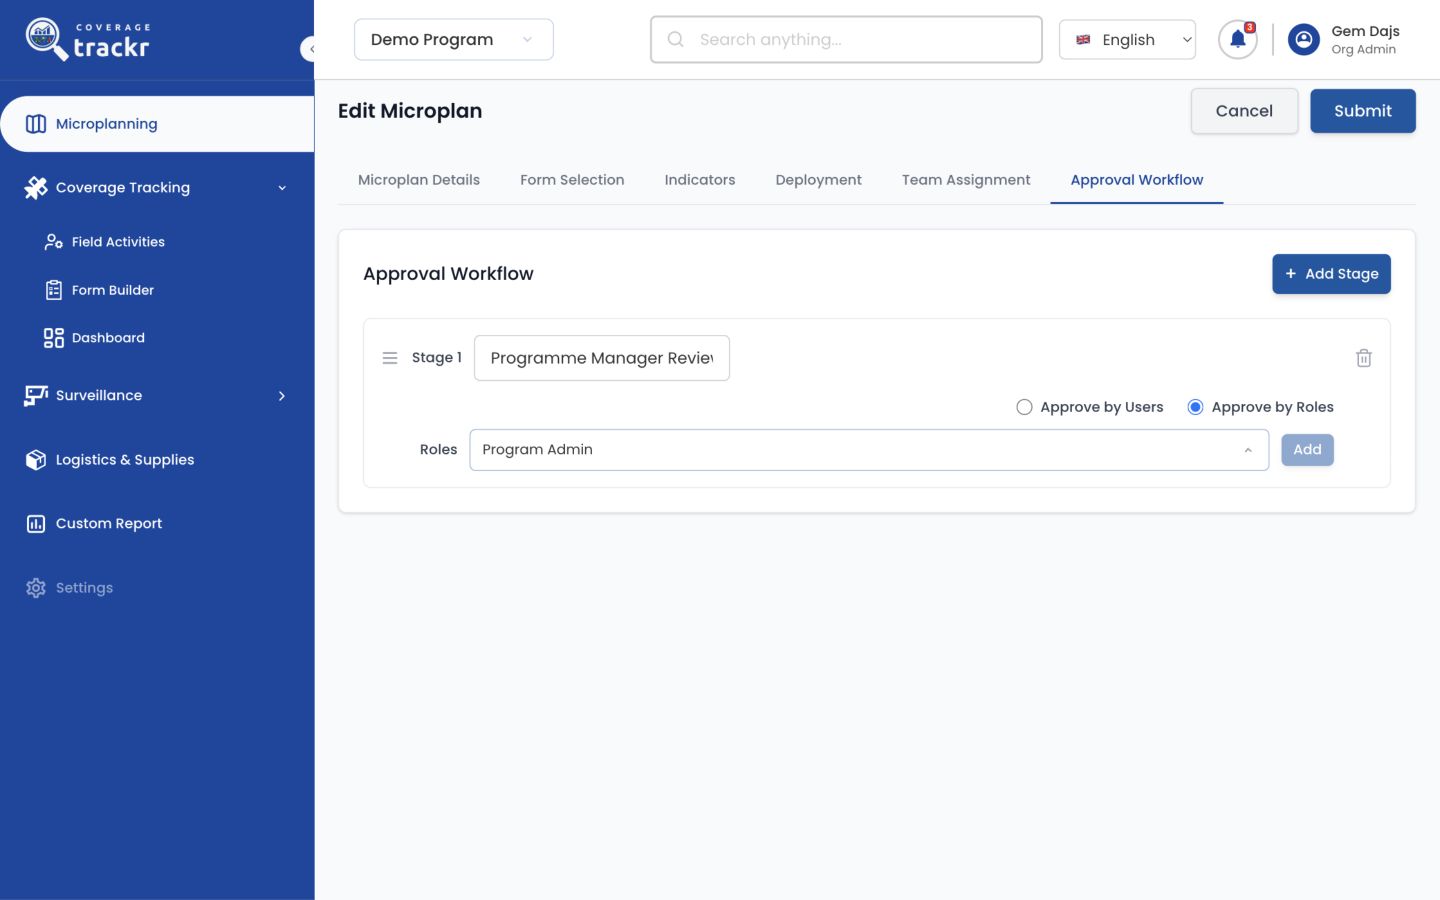
Set the approval workflow
Add the required approval steps and responsible roles. Review the completed configuration before publishing the microplan.
Note: Publication makes the plan operational. Validate the form, indicators, deployment and team assignments first.
A microplan is configured for the selected operating areas and teams, ready for review and publication.
If something goes wrong
Next is unavailable or reports missing information.
Complete every required field marked with an asterisk and check that the end date is not earlier than the start date.
A deployment area or team is missing.
Confirm the active programme and ask an organisation administrator to verify that the geography, users and teams have been configured.